Hello my lovelies! It’s been a while, I think I’ve mostly been in Superhero Birthday Party recovery mode! Actually, I’m buried in costume jobs and my own sewing, a dance show next week that I’m costuming and choreographing for, plus the usual mothering … sigh. But I’m grabbing a moment because I want to share how this party went, it was such a blast! I wrote about the invitations a while ago, now here’s the main event.

I made Superhero Capes for each kid with his or her initial, using a free comic book font I found. I printed the initials out, one per page, and used them as patterns for felt letters. I then hand-stitched them to a nicely contrasting circle of felt and machine stitched the whole thing onto the capes I made. Ta da!
Do I have any really nice, clear photos of the kids in their capes? Of course not! They move way too quickly, and usually don’t have time for posing when good times are afoot. Off the top of the party we played Musical Chairs (Rudi’s favourite game he informed us the day before, I don’t even know where he learned it!), and when you were out you got your cape. I have never seen so many 5-year-olds flopping and pretending they couldn’t find a chair — everyone was in a panic to get out and get a cape! Here are Rudi’s and Gene’s capes laid out on the floor so you can get an idea of the shape. The big one is for the 5-year-old birthday boy, the little one is for the 1-year-old side kick.

I winged the pattern after reading a few other blogs about making capes. I folded one metre of fabric in half for each cape piece (therefore two metres of fabric per cape), drew the longest diagonal that would fit on my fabric and a freehanded the neck line,  made a paper pattern from that first one and off I went. I used snaps for attachement as I’d run out of time to sew velcro on — and I really like the result! And yes, I finished the 14th cape half an hour before the party. And yes, I made a friend iron a bunch of them. And pick the stitches out of the two I sewed inside-out at 12:30am. Because I am obviously not a procrastinator at all and am excellent at sticking to production schedules. Ahem. (Thank you over and over Kate!)
Each cape was a different colour with white lining, because Mr. Birthday himself was determined that we should also paint the capes! We ended up using fabric spray paint out on our chilly, barely-spring deck (it was early April and had snowed just two days before!). I cut out a few paper shapes — lightening and such — that way the kids could spray over those and leave a white shape in the negative space. Some, like Rudi, just wanted a glorious mess of colour as you can see here! Either way, it worked well, cheers Tulip fabric spray paint! Capes dried on the line within the hour and went home with each super kid by party’s end.
Loot bags, in my humble opinion, are important. So even though each little super kid got to keep his or her cape, they also got modest super bags and matching bean bags. So cute. And easy as pie. Actually I find pie really challenging to make. These were easier.

I simply folded a sheet of felt in half, machine stitched the bottom and side, and in the same seam stitched in the giant rik rak loop. I cut out a bolt of lightening for each and hot glued it on. Finishing touch: pinking shears to finish the sides.

For the contents: super-popping pop rocks in Green Lantern green, classic superhero stickers, a superhero candy stick (which I glued googly eyes to and attached a paper thank you cape to, ridiculous, I know), dollar store finger lights for super E.T. fingers, super bean bags for power tossing (which we used during the party) and a Kinder egg because even superheroes aren’t immune to their charm right?! For the bean bags: same idea as the loot bag. I sewed three sides, left a wee opening, funnelled some beans in, stitched it closed, all on the machine. Finished with pinking shears and a smaller version of the loot bag lightening bolt.
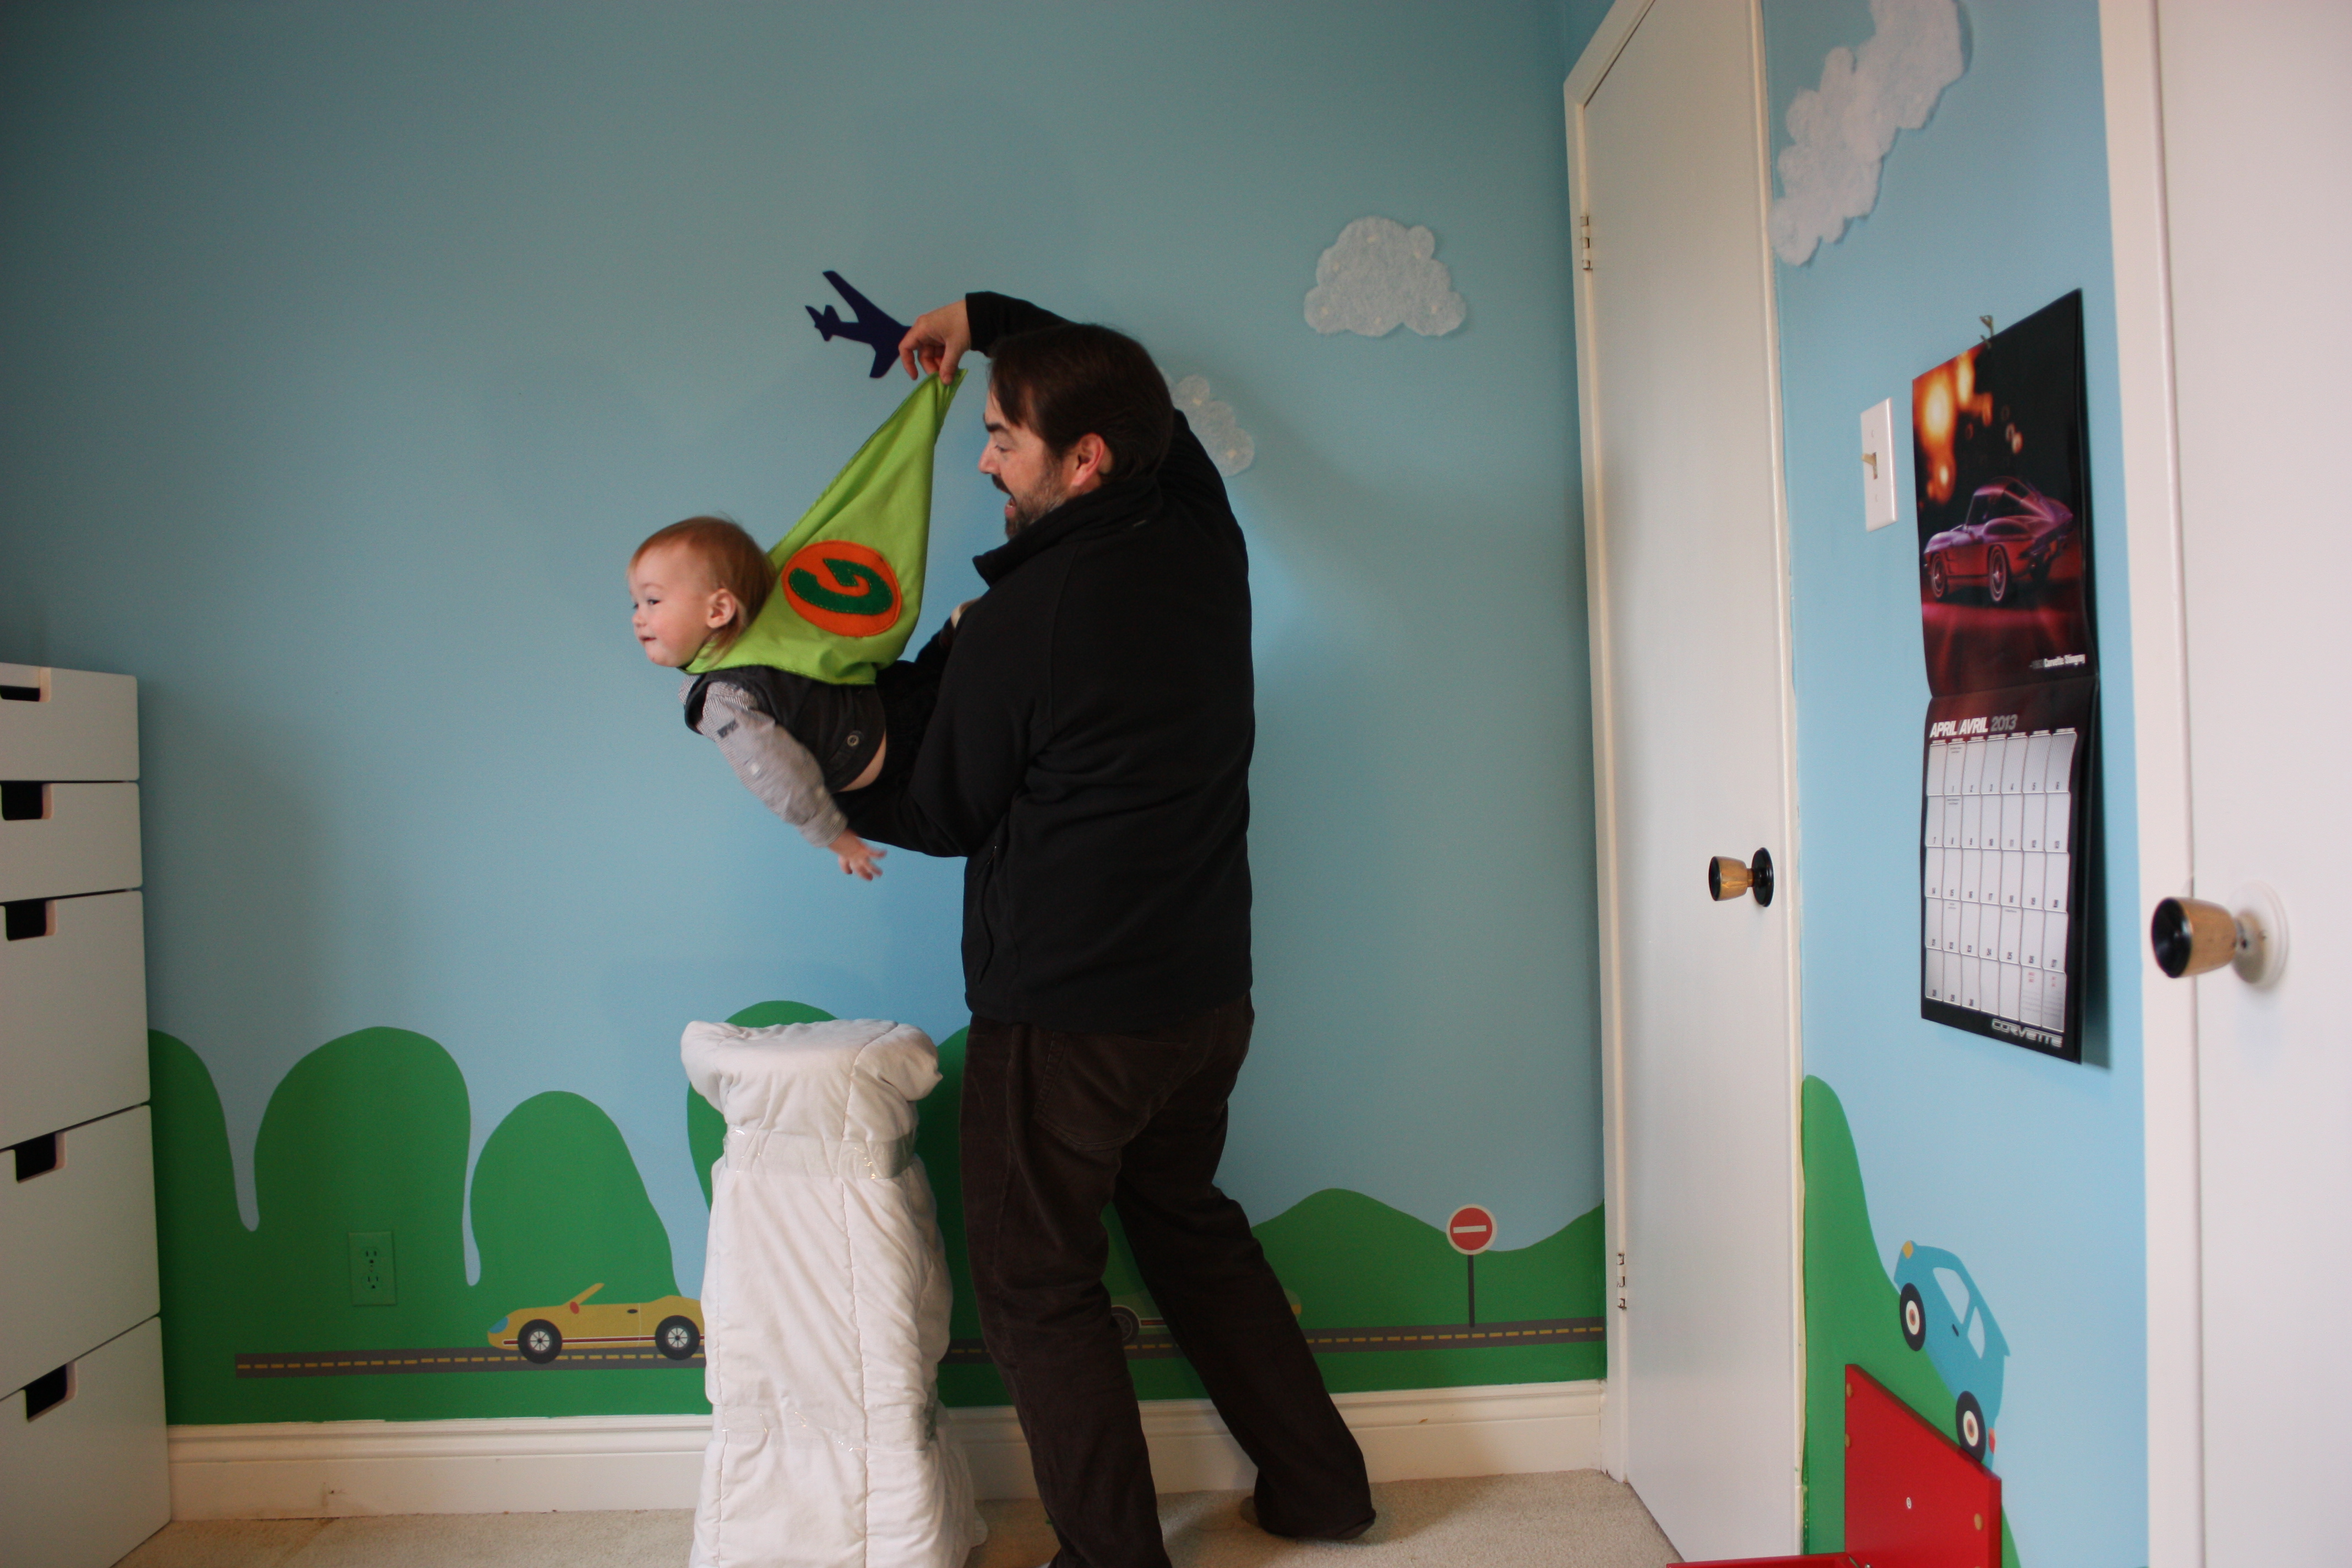
Lastly, the coup de gras, the very best part: super flying photos! In my birthday party planning post, I showed my sad but hilarious test run of the photoshopped “flying” photo idea. Turns out, a dear friend was here with his daughter for the party and has far madder skills on the photoshop than I. So I turned it over to him (thank you Tal!) and we set up a photo studio in Rudi’s room. He took one photo of the background initially and cut and pasted each superhero over that one. He also isolated the two clouds and the plane so he could place them appropriately for each hero. We took the photos from a tripod so that the distance was consistant and covered the stool with a big white comforter so it would be easy to cut out of the picture and more comfortable to “fly” on. I tied long threads to little safety pins and that’s how the capes look like they’re flying — you can see it being held by an adult in one of the before pics. So. Awesome.