Category: Sewing & Crafting

Party pour les Petits Pirates

Contrary to my title, I must admit I am not French at all. I am not even a bilingual Canadian except for my extensive ballet term vocabulary and my grade 11 level conjugation skills! But I do adore alliteration. So I couldn’t resist going with my frenglish title because of all the P’s! Anyways, this is the story of a party I held for small pirates, specifically my wee Gene-bean who recently turned 2 years old.

Pirate party loot bags and clues

We were at our Muskoka cottage for the big day and Gene’s big 5-year-old brother and his even bigger 8-year-old cousin would be his guests for the festivities. I thought that a treasure hunt would be grand in that amazing landscape and keep lads of all ages happy. Which led me to the pirate idea. Really anything involving adventures and weapons and dress up works for these guys, thus a modest cottage pirate party was born. Of all the things concocted for this fête, the felt-on-flannel map below is my favourite. Charming if I do say so, non?

Felt on flannel treasure map

As usual I wanted to make this party as handmade as possible. I love to make and craft, I thrive on creating — for me, the act of imagining and making is part of loving-up my kids when I have the time to do it. Baking, on the other hand, I have given up on. I’m not very good at it, I don’t really enjoy it and in the end they only eat the icing. So I bought a cake with mounds of icing and decorated it so it was a little more fun! As you can see below, I just jammed a couple of tentacle fingers we had lurking in our dress-up chest into the cake (very kraken!) along with some dollar store cupcake topper ships and used the cupcake papers to surround the cake. Icing: eaten. Birthday boy: delighted. Cake: success.

Kraken cake.

The treasure hunt took the kids around the cottage and surrounding property revealing handmade pirate sashes, felt eye patches and pirate hats. From clue to clue they travelled in their new pirate duds, eventually finding some random bounty including chocolate Canadian coins, those squish coin pouches I thought died in the 80s (but was glad to find still exist, I loved those things!), little wooden airplane gliders and silly straw glasses for drinking pirate’s brew, a.k.a. Shirley Temples.

Pirate party treasure hunt bounty

The font I found for free on dafont.com and is called Pieces of Eight. It worked a treat and included a lovely “X” for making the spot and some sabres and skulls, all necessary when making pirate-y name tags and clues.

Lastly I had to make Gene’s favourite baby dolly a wee matching pirate hat and patch. He caught his breath with delight when dolly was revealed, then immediately proceeded, with no apparent provocation, to hang the baby by his neck from a string on the window sill. Very pirate-y indeed mateys. Arrrrrrrrrrrrrrr.

Felt pirate hat and matching dolly

Colouring the Matroyshka Tattoo

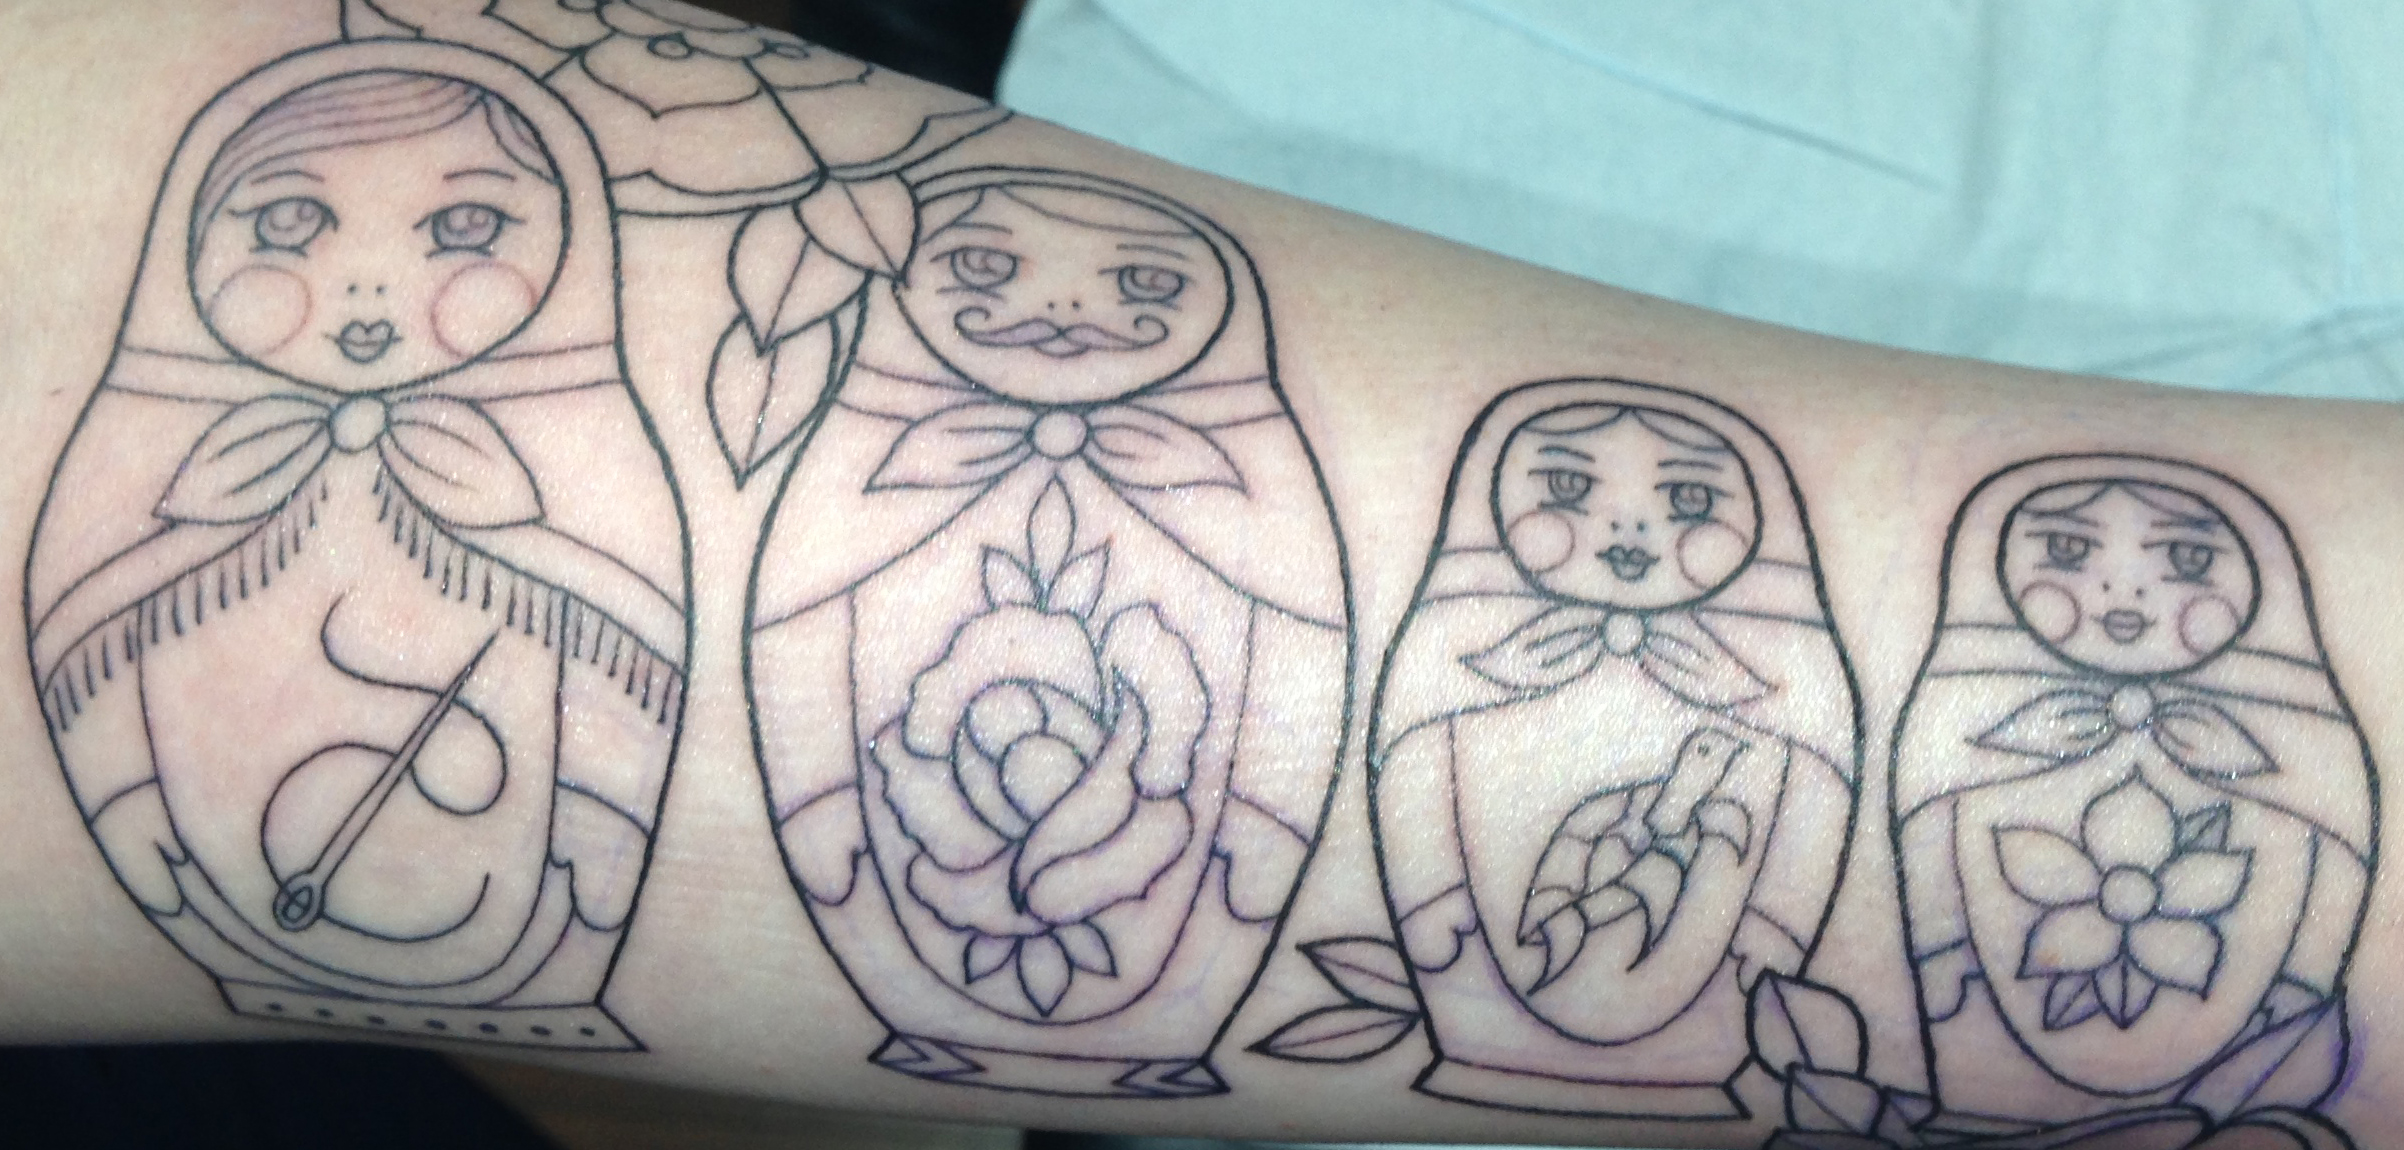
This month it was time to colour in the Matryoshka dolls on my arm. I had grown fond of the simplicity of the outlined dolls from my first sitting but the plan was always for colour, and it they are oh so beautiful with colour!

MatryoshkaTattoo_ByAngieFey

Still to do are the graphic flowers on either end of the tattoo, sometime this fall. Til then, I am sitting here, entranced by the beautiful art I’m sporting. Tattoo artist Angie Fey‘s use of colour, whimsey and the fantastical were what drew me to her art. And she turns out to be really easy to hang out with for 3-4 hours whilst inflicting varying degrees of pain — a lovely bonus!

I decided I would tip Angie with art. So I made this little lady, partly inspired by the ones she created for me. I almost didn’t want to part with her and will surely make more soon. I stitched my logo on her backside for a  little sass!

20130801-115448.jpg

My felt matryoshka dolly was an excellent cottage project, she reminded me how much I love hand sewing. I think I’ll try to make a pattern for her this fall to share since she’s so much fun to make. I also remembered that I need a lesson in embroidery, I want to expand my limited stitch repertoire! I smell a sampler project this fall, I’m pretty much in love with this one.

Finishing with an Ochre Wedding Dress

For the past few weeks I have been swept up in a delightful, merciless whirl of sewing gigs, family cottage time and motivation-crushing heat, but right now I do believe it’s time to catch you up on the wedding dresses!

Ochre wedding dress by S. Kendal

In my June post Starting with a Navy Wedding Dress, I shared a wedding dress I was working on and mentioned another one I was about to start. Simplicity 1614 50s Bateau Neckline DRESS Full SKIRT & EMPIRE midriff Vintage Sewing PatternThe second dress, the ochre dress, started with a Simplicity pattern from the 1950s with a bateau boat neckline and an empire waist. We found the fabric, drapery fabric if you can believe, loving how it complimented the navy silk with pearl-white illusion top on the first dress. I carved the high, bateau neckline down a bit to reveal the bride’s collarbones and a little shoulder blade at the back. I also added a ruched waist, but kept the high, curved empire line of the original pattern, a nice architectural element for a bride who’s an actual architect by trade. Because of the wonderful pattern on the fabric (yes, it is total put a bird on it fabric, cue the jokes, I can take it) we bought extra yardage so I could place a bird over her chest, like a designed-in corsage, and across her shoulder on the back.

By now, both dresses have been made and each has done her duty well: adorning their respective brides down an outdoor aisle on a family farm in one of the most profoundly simple and sincere marriage ceremonies I have even been graced to witness. What a lovely, secret pleasure to see my work walk and swirl the night away on two beautiful ladies so truly in love. I am grateful for the honour of dressing my friends Ann-Marie and Leah. I even got to do the hair, a secret pleasure of mine (seriously, if you ever want a french braid or a bun, call me!) and Leah fashioned her fascinator with perfectly matched ochre French netting. Look how they radiate adoration for each other and how well (if I do say so) the dresses stand beside one another, so different yet complimentary.

Williams-Scherk wedding dresses & hair

Since I was also a guest at the wedding, I needed a gift. And I knew just what to do. There was enough fabric to piece together a quilt from their wedding fabric. And since Ann-Marie and Leah are the handmade-appreciating, sentimental kind of folk, obviously my favourite kind, I knew they’d enjoy the effort. So in between making their dresses I put together this wedding quilt. I’m a total quilting novice, but I loved every minute of it, learning to mitre corners, quilting the pattern of the ochre fabric so that it appeared in relief on the flannel back, stitching hope and love and perseverance into each seam.

20130717-190619.jpgAltogether the most satisfying commission I have ever receive as a designer and seamstress. And two long-time acquaintances because wonderful bosom-buddies through the process. You cannot beat that.

Getting My Waldorf On with Walnut Pirate Ships

Sometimes I have to get my Waldorf on (former Waldorfers out there, you know what I mean). I feel the need for some Stockmar decorating beeswax welling up and I must surrender! And does that stuff ever last, I still have a package from my teenagehood. Great for decorating plain candles or making little figures out of. But I digress. The point was … ah yes … Rudi’s kindergarten class’s June show-and-share task was to make a craft and talk about how it was made, giving everyone (read: the teachers, clever creatures!) new ideas for the summer. He doesn’t go to Waldorf, but I insert wonder and beeswax and wool and gnomes and heavy-duty watercolour paper and primary colour exploration as often as possible/necessary into his little life!

20130617-210749.jpg

I felt a challenge rising in my heart, and it included beeswax and natural materials (mostly). I needed to meet the task with my usual over-do-it, turn it up to 11 attitude, though my 5-year-old-appropriate crafts arsenal is rather lacking. So of course I googled and found a lovely site that I’ve bookmarked for heavy future use, The Crafty Crow, a children’s craft collective, what a fantastic idea, which led me to Small World Land’s Walnut Shell Flotilla. Brilliant. Sorted.

Then I couldn’t find walnuts in the shell, what with them not being in season and all, but eventually I sussed out some extra-organic, vaguely rotton, excessively priced ones at the health food store. I covered my sails in packing tape, the poor (wo)man’s laminating technique, not very Waldorf, ah well. I do secretly yearn for a Laminator, I cannot lie. I used the beeswax to secure the masts. Then Rudi pointed out that we needed a pirate. And yes, I still have mad skills. Behold the wee man, built in the last minutes before bedtime, 3-cornered hat, silver sabre, ah-thank-you. I am feeling smug and awesome, secure in the knowledge that I can still craft it hard when push comes to shove — or show-and-share, as it were.

Note: from my description you may have noted that 5-year-old Rudi didn’t particularly take part in the craft. Ahem. But he could have. He just doesn’t really care to that much. He’s likes watching me and I like crafting. At a 5-year-old’s level. So it works. He cracked a few nuts and jammed the masts into the wax, that counts, right?!

Note also: I should admit that because it too me so long to find walnuts in the shell, Rudi’s scheduled show-and-share day already passed. I made beads with him out of polymer clay — remember Fimo? Yeah, they still make that! So he already showed and shared those. But I’m sending these ships in, show-and-share rules be damned, once I have a craft-bee in my bonnet it’s settled. I am turning into a nightmare parent, I can already see his teachers’ long-suffering faces …

Starting with a Navy Wedding Dress

Here’s a quick post just to show you what I’m up to. I am ear-deep in costume gigs, but this week was particularly dedicated to getting started on one of a pair of wedding dresses I was commissioned to make for this summer.

Navy/Pearl wedding dress in progress

It’s not what you’d expect when you hear “wedding dress.” No poufy meringue or pick-ups here, no ma’me, but navy shantung silk and pearl organza in the role of illusion neckline? Yes indeed! The bride was taken with a dress she’d seen in a picture but couldn’t quite find the right thing on the rack or in a pattern. So I married (!) a couple of different patterns to get the desired shape and illusion top, and reworked the neckline to my liking. It’s coming along.

Navy/Pearl wedding dress in progress - pocket!

The dress features my first pockets, ever, and they went without a hitch! Tomorrow I tackle another first: making my own bias tape. I’ve been practicing on cotton with the little silver tool in the first picture. I particularly liked this tutorial  that I found on the  dana-made-it blog. Wish me luck!

Simplicity 1614 50s Bateau Neckline DRESS Full SKIRT & EMPIRE midriff Vintage Sewing Pattern

The bride’s bride will wear a dress from a vintage pattern, I’m just waiting on a fabric delivery to get started — sometimes I shake my fist at Customs! Her pattern is straight out of the 50s, musty, yellowed paper, total Mad-Men-chic *sigh* in an ochre drapery fabric with grey and white birds and branches on it. Hard to imagine? Just you wait, it is going to be magnificent.

What an delight to dress both brides in a wedding, it’s very special. In honour of the opportunity and the occasion, I include this song and video that I just heard/saw for the first time this week. Bless Macklemore, Ryan Lewis and Mary Lambert for their gorgeous, straight-to-the-heart-of-the-matter tune.

M is for May and Matryoshka (tattoo)

MatroyskaTattooProgress_AngieFey

May has been epically busy, and in addition to my usual exploits, I got inked! Yes, tattooed, me. I always wanted one when I was a teen. However, being a practical creature and an obedient dance student, I thought I might regret it and also piss a bunch of teachers and choreographers off. But actually, I regret not doing it. And since there’s no time like the present, I researched artists last year, found Angie Fey at Archive Tattoo in Toronto and fell in love with her work. You should check it out. Extraordinary. Whimsical. Colourful. Charming. I wanted 4 Matryoshka dolls; I love them, their secret stacking, their folk-arty-ness, all the symbolism potential.

MaytryoshkaProgressView1_AngieFey

And it has been started, my left forearm is officially hardcore. The outline is done and June brings colour. I am in love with my little dolls, representative of family, carrying images of things precious to me. Wearable art — and a great conversation piece I’m discovering already! Does the moustache not charm your pants right off?! And the flowers. And the variation in grey. The little cheeks. The pleats in the scarf knots. Sigh of contentment.

Other adventures this month included a bunch of dance work with Simcoe Contemporary Dancers for their show Departure. And, you know, I managed to choreographed a work, costumed a few pieces, do lighting design and assistant stage manage some shows. I love love love me a dance show, but honestly! Over-commitment is my middle name me thinks. Truly soul filling work though.

I’m also getting prepped for sewing commissions, which include: costuming the New Actors’ Colony Theatre company in Bala, ON this summer, a couple of dance shows in Toronto, and 2 wedding dresses! Plus my own sewing work (ha ha). And the usual mothering. Ahem. Working from home with an one-and-a-half-year-old is insane. I constantly over-estimate how much I can get done, but this period shall pass, I know. So I mostly put aside my own work and just hang and nap and do things that don’t involve pointy objects during the daytime! My shop can happen any time, the little man will grow past needing me like this very soon, never to return to this magical/overwhelming time.

Superhero Party: Action and the Aftermath

Hello my lovelies! It’s been a while, I think I’ve mostly been in Superhero Birthday Party recovery mode! Actually, I’m buried in costume jobs and my own sewing, a dance show next week that I’m costuming and choreographing for, plus the usual mothering … sigh. But I’m grabbing a moment because I want to share how this party went, it was such a blast! I wrote about the invitations a while ago, now here’s the main event.

20130509-155829.jpg

I made Superhero Capes for each kid with his or her initial, using a free comic book font I found. I printed the initials out, one per page, and used them as patterns for felt letters. I then hand-stitched them to a nicely contrasting circle of felt and machine stitched the whole thing onto the capes I made. Ta da!

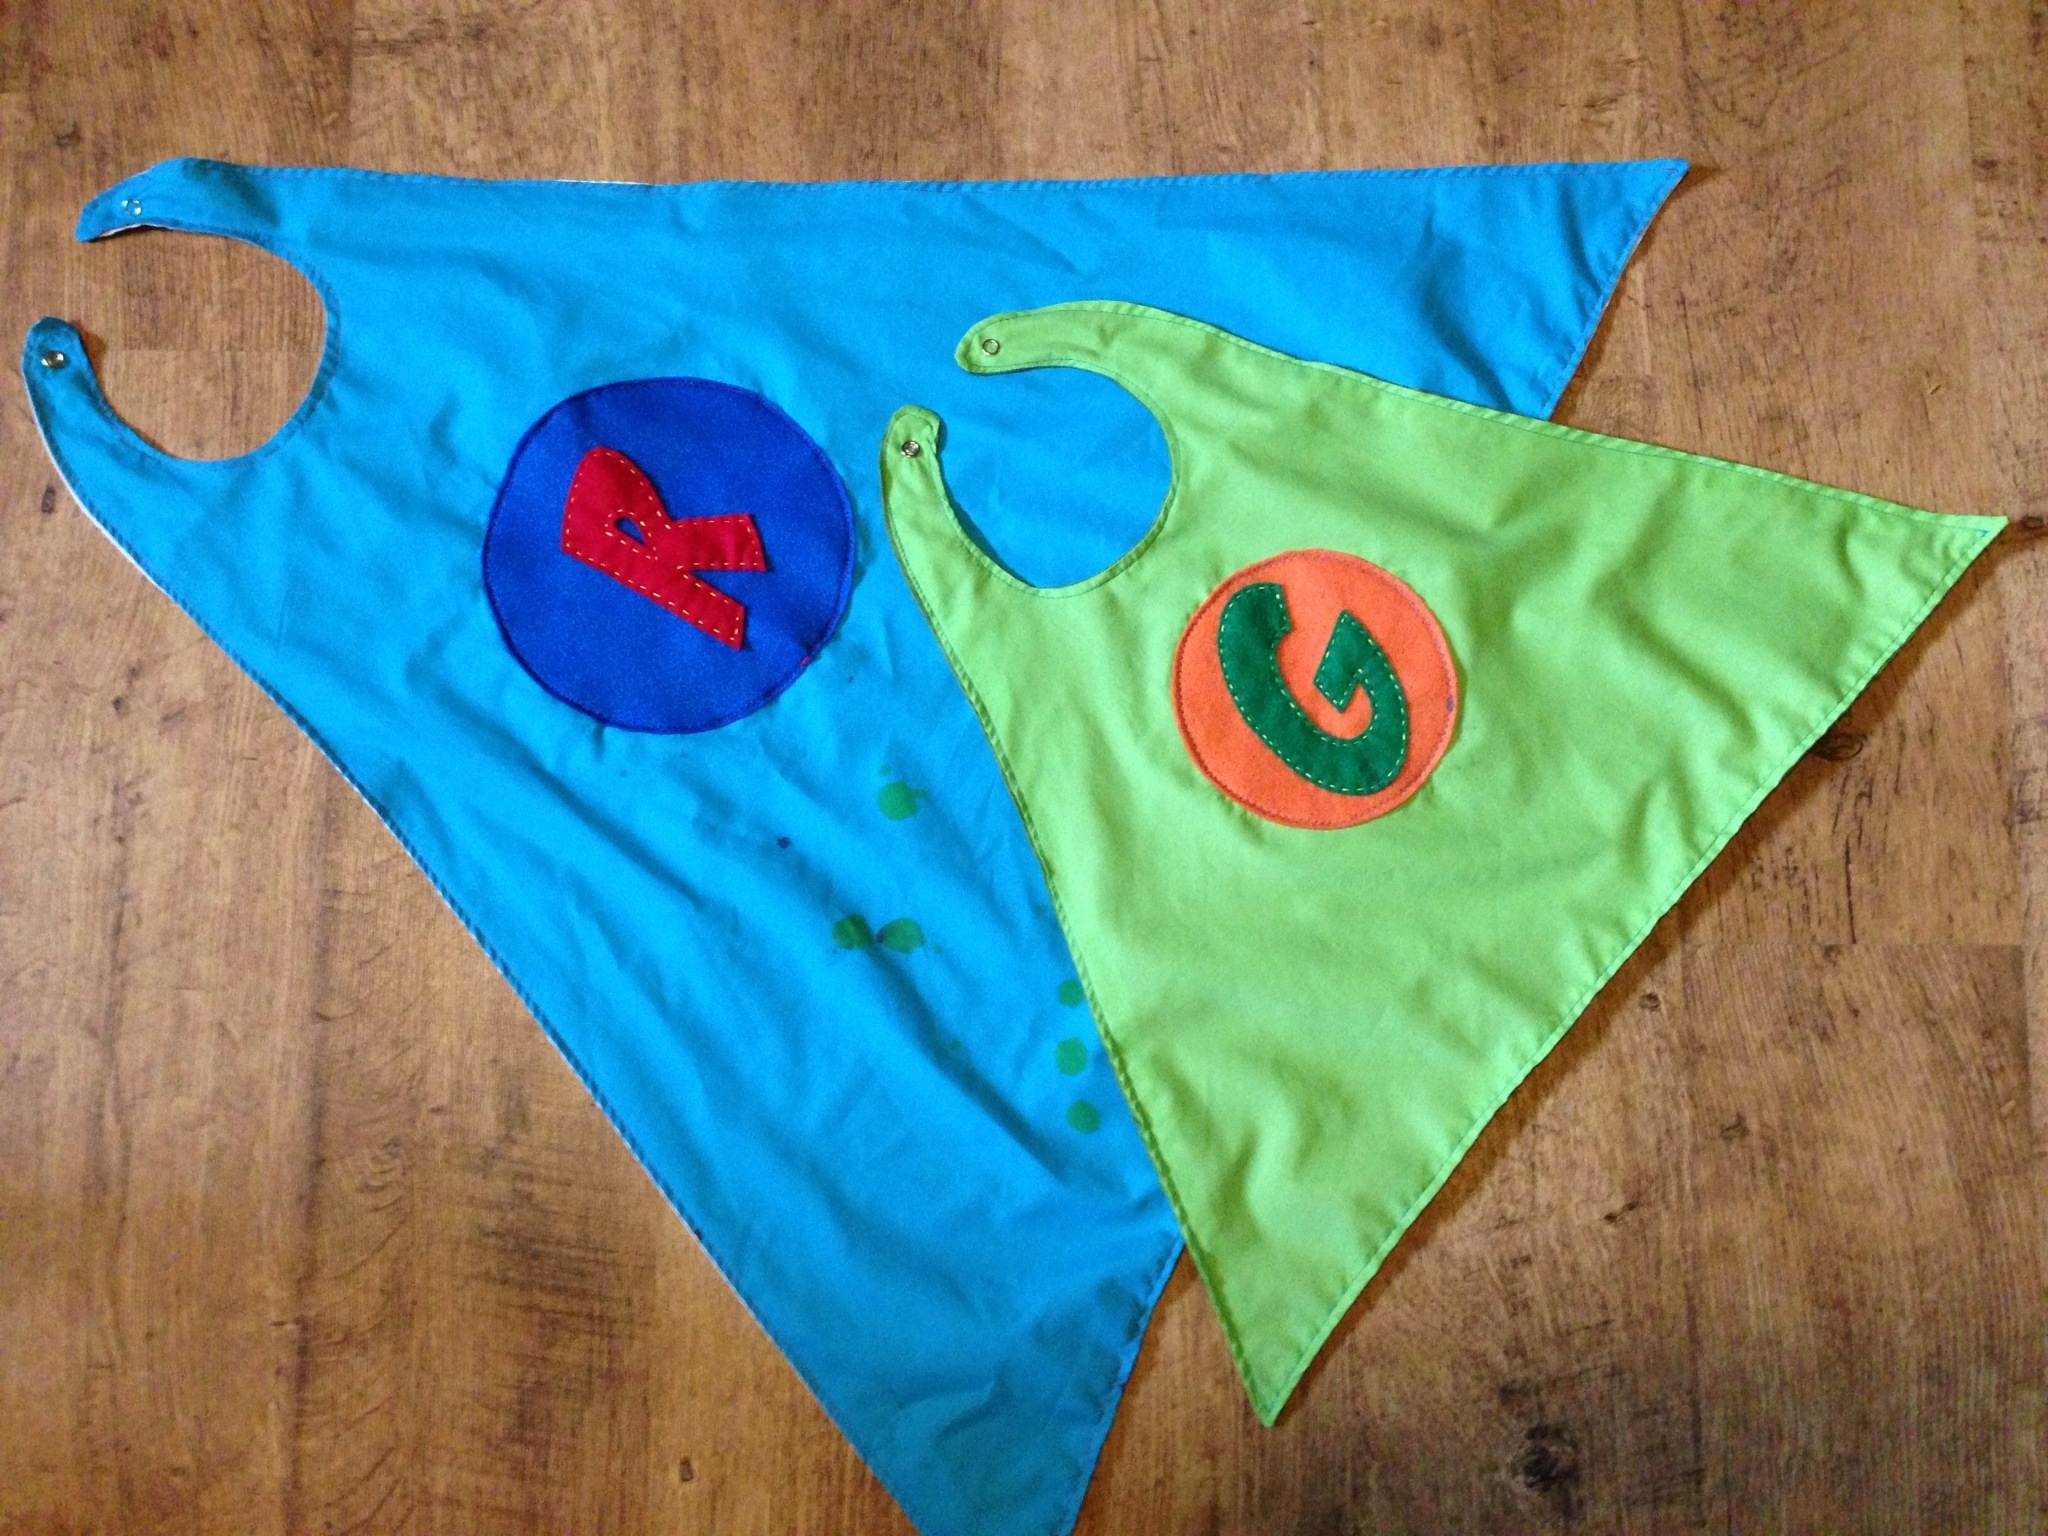
Do I have any really nice, clear photos of the kids in their capes? Of course not! They move way too quickly, and usually don’t have time for posing when good times are afoot. Off the top of the party we played Musical Chairs (Rudi’s favourite game he informed us the day before, I don’t even know where he learned it!), and when you were out you got your cape. I have never seen so many 5-year-olds flopping and pretending they couldn’t find a chair — everyone was in a panic to get out and get a cape! Here are Rudi’s and Gene’s capes laid out on the floor so you can get an idea of the shape. The big one is for the 5-year-old birthday boy, the little one is for the 1-year-old side kick.

20130509-161756.jpg

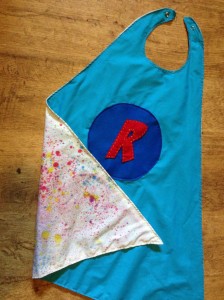
I winged the pattern after reading a few other blogs about making capes. I folded one metre of fabric in half for each cape piece (therefore two metres of fabric per cape), drew the longest diagonal that would fit on my fabric and a freehanded the neck line, 20130509-161751.jpgmade a paper pattern from that first one and off I went. I used snaps for attachement as I’d run out of time to sew velcro on — and I really like the result! And yes, I finished the 14th cape half an hour before the party. And yes, I made a friend iron a bunch of them. And pick the stitches out of the two I sewed inside-out at 12:30am. Because I am obviously not a procrastinator at all and am excellent at sticking to production schedules. Ahem. (Thank you over and over Kate!)

Each cape was a different colour with white lining, because Mr. Birthday himself was determined that we should also paint the capes! We ended up using fabric spray paint out on our chilly, barely-spring deck (it was early April and had snowed just two days before!). I cut out a few paper shapes — lightening and such — that way the kids could spray over those and leave a white shape in the negative space. Some, like Rudi, just wanted a glorious mess of colour as you can see here! Either way, it worked well, cheers Tulip fabric spray paint! Capes dried on the line within the hour and went home with each super kid by party’s end.

Loot bags, in my humble opinion, are important. So even though each little super kid got to keep his or her cape, they also got modest super bags and matching bean bags. So cute. And easy as pie. Actually I find pie really challenging to make. These were easier.

20130509-160307.jpg

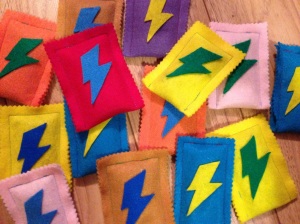
I simply folded a sheet of felt in half, machine stitched the bottom and side, and in the same seam stitched in the giant rik rak loop. I cut out a bolt of lightening for each and hot glued it on. Finishing touch: pinking shears to finish the sides.

Superhero lightening bolt bean bags!

For the contents: super-popping pop rocks in Green Lantern green, classic superhero stickers, a superhero candy stick (which I glued googly eyes to and attached a paper thank you cape to, ridiculous, I know), dollar store finger lights for super E.T. fingers, super bean bags for power tossing (which we used during the party) and a Kinder egg because even superheroes aren’t immune to their charm right?! For the bean bags: same idea as the loot bag. I sewed three sides, left a wee opening, funnelled some beans in, stitched it closed, all on the machine. Finished with pinking shears and a smaller version of the loot bag lightening bolt.

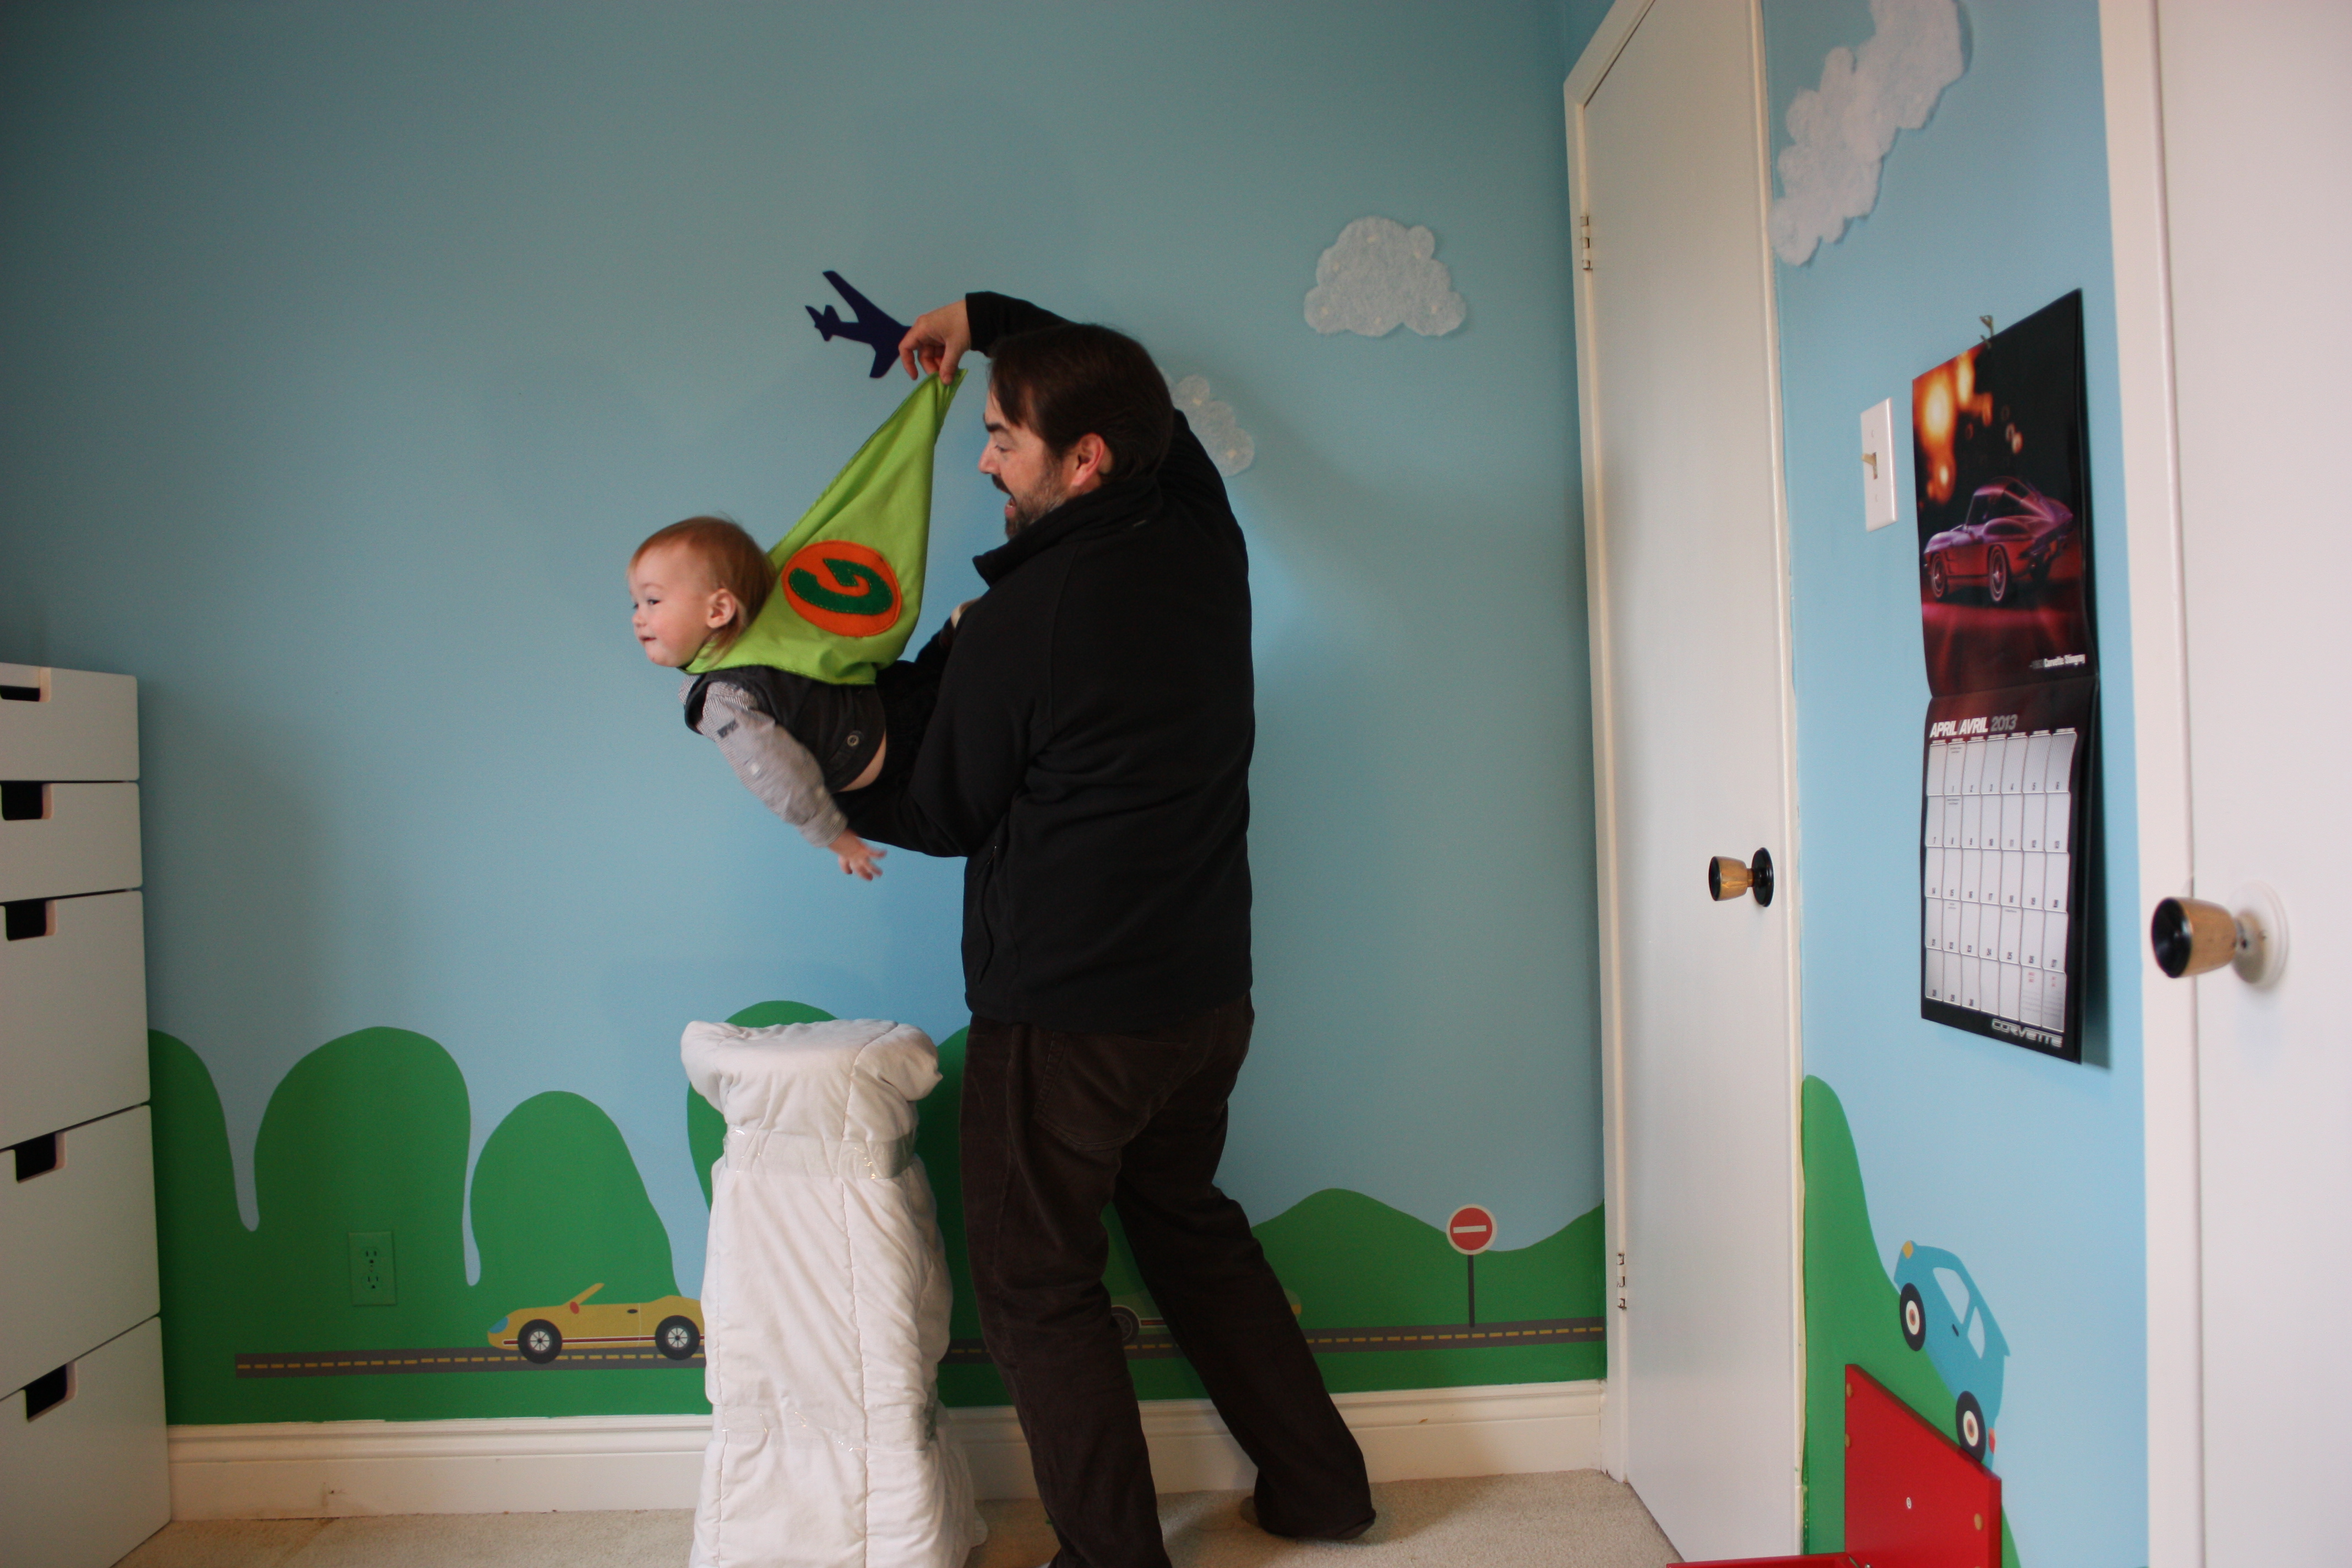
Lastly, the coup de gras, the very best part: super flying photos! In my birthday party planning post, I showed my sad but hilarious test run of the photoshopped “flying” photo idea. Turns out, a dear friend was here with his daughter for the party and has far madder skills on the photoshop than I. So I turned it over to him (thank you Tal!) and we set up a photo studio in Rudi’s room. He took one photo of the background initially and cut and pasted each superhero over that one. He also isolated the two clouds and the plane so he could place them appropriately for each hero. We took the photos from a tripod so that the distance was consistant and covered the stool with a big white comforter so it would be easy to cut out of the picture and more comfortable to “fly” on. I tied long threads to little safety pins and that’s how the capes look like they’re flying — you can see it being held by an adult in one of the before pics. So. Awesome.

BEFORE: Super Rudi, behind the magic curtain, pre-photoshop.
Super Rudi the birthday boy on hi way to save the day! If only I could have gotten him to stretch those legs behind him, he even had red socks on!!!
AFTER: Super Rudi the birthday-boy on his way to save the day!
BEFORE: The littlest super! Wee Gene was not into lying on the stool, so Daddy held him up and the cape out.
AFTER: the fantastic result. Super-Gene flies into the picture from stage left!

Superhero Party: Plans and Invitations

This time of year is the major party period in our little family: cousin’s birthday, easter, Rudi’s birthday, hubby’s birthday. It’s about to roll out whether I’m ready or not! So I’m prepping, mind whirring, already behind on the crafting schedule!

CapeInvites_detail

The biggest excitement brewing is for Mr. Rudi’s 5th birthday. He wants superheros, which I obviously know all about (I do not). I wanted to go non-specific hero, he knows Spiderman and kind of has an idea of Batman and a few others, but I think we’ll keep it general and imaginative. Thus I am working on capes for everyone with their initial on them and we’ll have cape decorating, jumping pardon me, flying contests, speed trials, etc, basically run them ragged!

We’re even planning to set up a flying photo booth where the kids “fly” on a stool. Super RudiI’ll then photoshop the stool out so it looks like they’re flying against Rudi’s newly painted bedroom walls, featuring hills and sky! My photoshop skills are pretty minimal, perhaps even ghetto, but I can (kind of) rock the clone tool! Here’s my rough/feeble test run. But it’s for 5-year-olds, they’ll totally love it, right?!

Of course though, the first step is invitations and I cannot not make a craft project of those. I am incapable. It gives me too much pleasure. Here’s what I came up with:

I downloaded a couple of free comic book fonts for the text, which gave it a good superhero feel!
I downloaded a couple of free comic book fonts which gave the text a superhero feel!
To make it feel even more comic-bookish, I drew a simple map for the location, took a photo of it in Instagram and popped the image into the design.
I got to this point and felt the capes were too plain. To add a little quick detail I printed red Rs on circular labels (see next photo). Et voila, instant birthday-boy cape!
The capes are felt, I drew a little pattern on paper that was the right size. Then they're just stitched over top of the party details text.
The capes are felt. I drew a little pattern on paper that was the right size. Then they’re just stitched over top of the “party details” text.
Because I made the invites longitude-wise, when it came to enveloping time, I was momentarily stumped. But then I realized I could just cut 12"x9" envelopes from top to bottom, tape them with decorative washi tape. Boom, custom envelopes!
I made the invites longitude-wise and when it came to enveloping time I was momentarily stumped. But then I realized I could just cut 12″ x 9″ envelopes from top to bottom, tape them with decorative washi tape and boom, custom envelopes!
All washi-taped and ready for mailing or hand delivery. Invitations sorted, now for the capes ...
All washi-taped and ready for mailing or hand delivery. Invitations sorted.

Threading the Needle, Hitting the Floor

A month ago I got moving again. It was about 16 months post-baby and I was suddenly so ready to move, stretch, find my body again beyond the cozy curl of nursing and snuggling and nurturing my wee boy. Funnily enough, it was the same trajectory with my first son, 16 months curved around him and his wee yet all-encompassing world, which was all I wanted to do, but then it was time, and now again, it is time. I’ve been taking classes with the lovely Sarah Lochhead and her Barrie dance company Simcoe Contemporary Dancers, remembering that I love to dance, simply and truly, it is my first and longest lasting passion.

photo (4)I’ve also been taking Moksha Yoga, hot yoga. Which, if you know me, is pretty amusing. Because til now I’ve liked yoga but never gone way out of my way for it, and I h-a-t-e heat. Being overheated is just about my worst nightmare. But I thought I’d give it the old  college try for the introductory month and (in my face) I love it. Absolutely. It’s been a revelation to find myself so fully and quickly, strength and flexibility roaring back into my limbs and core. It’s also resulting in some mental serenity here and there, a good balance with the mothering all day and the sewing in stolen moments.

photo (6)So I’ve been threading the needle on my machine and also “threading the needle” (a tangled-leg hip-opening stretch!) a lot of late and feeling good for it on both fronts. Stay tuned, the needle threading is resulting in some lovely burping pads for my Etsy store, due to open next week!

First Product Labels Ever

I am slowly, surely, finally working towards the opening of my Etsy shop. Now that we are moved and relatively settled and the blur of the past year is settling into some kind of calm, I’m getting myself into a schedule of work so that production is happening on a regular basis. Then to apply for craft fairs. Then to take over the world one burp pad at a time, ha! It’s anticipated change, terrifying, procrastination-inducing and  new. Time at last to dig in.

photo (5)

And part of that prep is tagging and labelling, so I ordered my first-ever product labels. Lovely, half-inch cotton twill fold-over labels with my round pocket-watch-ish spiral logo. Went without words to keep it small. Which might end up being a rookie marketing mistake, but I just like them so much as they are, simple. But I was torn, maybe I’ll try the whole worded Pocket Alchemy logo next time. Opinions about and experiences with labelling are most welcome, please.

And they arrived yesterday! In time for my whole Friday child-free work day. I ordered them from a lovely gal I sourced on Etsy, a working mom herself who does short-run custom labels, and I’m delighted. You can check her out at Green Beans N String. And now to stitch some of those labels in …